|
Chapter 1. Basic Machining and Tips
Removal of Burrs
 Removing of Burrs
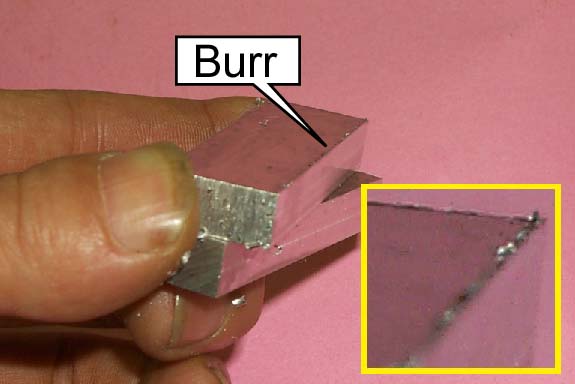
| The burrs are rough edges which are generated as a result of the cutting
process. It is often called a flash in English. There are the visible burrs
as shown in Figure 1 and the invisible burrs, which are confirmed by touching
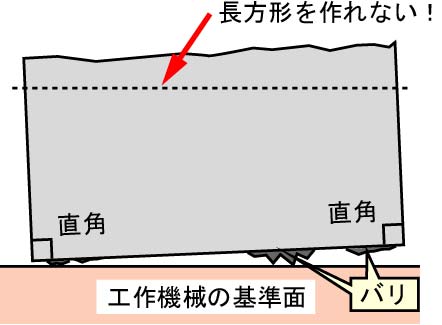
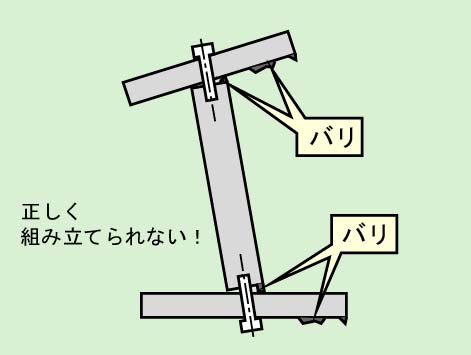
the edge. In order to make an accurate part, it is very important to remove
the burrs with a file. We must remove them carefully after the cutting
process.
|
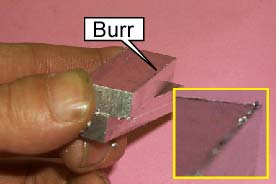
Fig. 1, Visible Burrs
|
 Removiing a Burr using File and a Wooden Surface
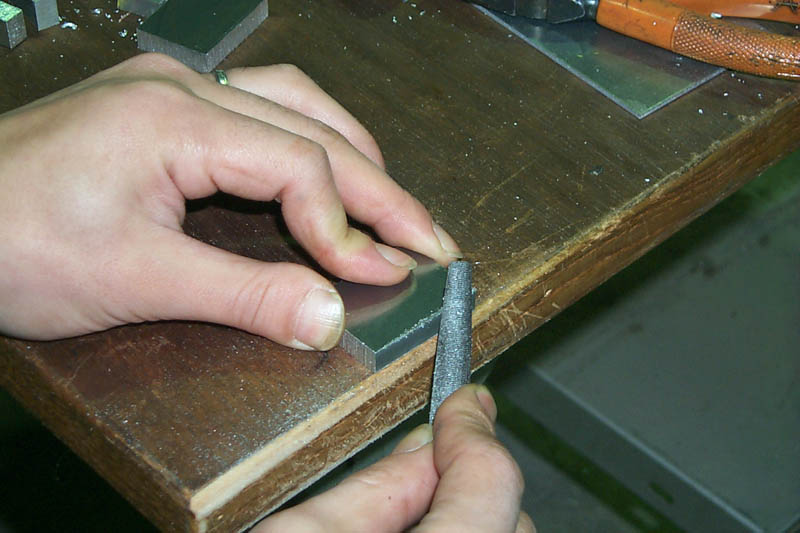
| It is advisable to use a wooden work surface to aid in the removal of a burr as the timber surface provides a good support while at the same time it does not damage the file if it comes into contact with the timber. Not that the file is "Pushed" along the edge and not "Pulled".
|

Fig. 5, Using a board to Facilitate the Removal of a Burr
|
Lathe Process and Removal of a Burr
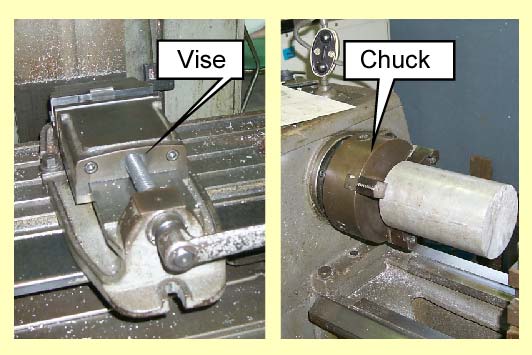
| A burr can also be generated during the lathe process. It can be easy removed
by applying a file to the burr on the rotating material. Be careful to
not touch the rotating part with your finger. |
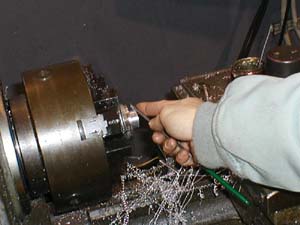
Fig. 6, Removal of a Burr after Lathe Process
|
Remove a Burr after Drilling Process
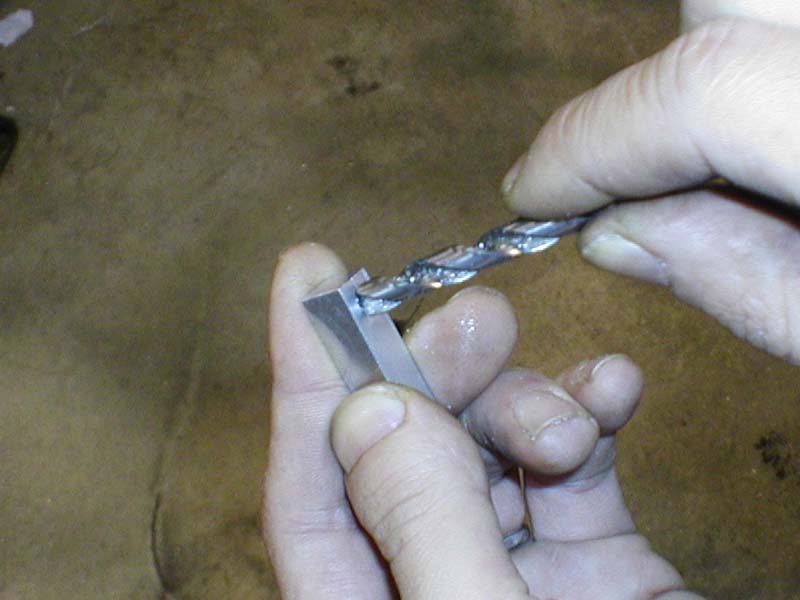
| A burr generated during a drilling or tapping process is removed using
a bigger drill. A little burr can be easily removed by rotating the drill
bit by hand. Larger burrs may need to be removed by mounting the drill
bit in a drilling machine. |
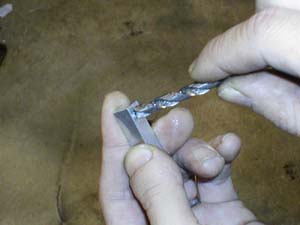
Fig. 7, Removing a Burr by Hand after Drilling
|
[ Metal Working TOP ]
[ Hirata HOME ]
[ Power and Energy Engineering Division ]
[ NMRI HOME ]
|