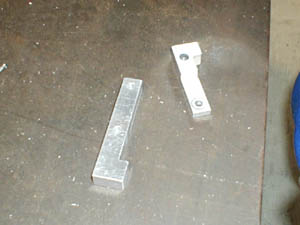
| Chapter 1. Basic Machining and Tips
Marking-off
 Marking-off Tools
Marking-off is the process of drawing lines on the raw stock corresponding
to the dimensions on the plan. Figures 1 to 6 show the tools used for the
marking off.
 Determining the Need for Accuracy
In the case of preliminary cutting or "roughing-out" it is satisfactory
to mark-up using generally accurate measurements however, when finishing
or high precision is needed, then it is essential that utmost care be taken
to mark-up the work piece with extreme care and attention to detail.
When working in a commercial environment, there needs to be a balance between
achieving the desired quality of workmanship with that of the time taken
to complete the work.
|

Fig. 1, Marking-off Scribe
| A marking-off scribe is used for drawing lines on material. Its point is
sharp, and is tempered to ensure that point is maintained. |
|
Fig. 2, Steel Rule
| The steel rule is used for measuring-out and drawing lines. A good quality
steel rule is a good investment in achieving accuracy. |
|
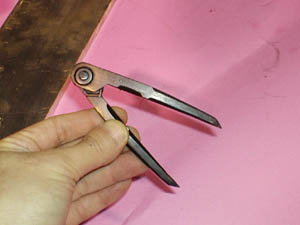
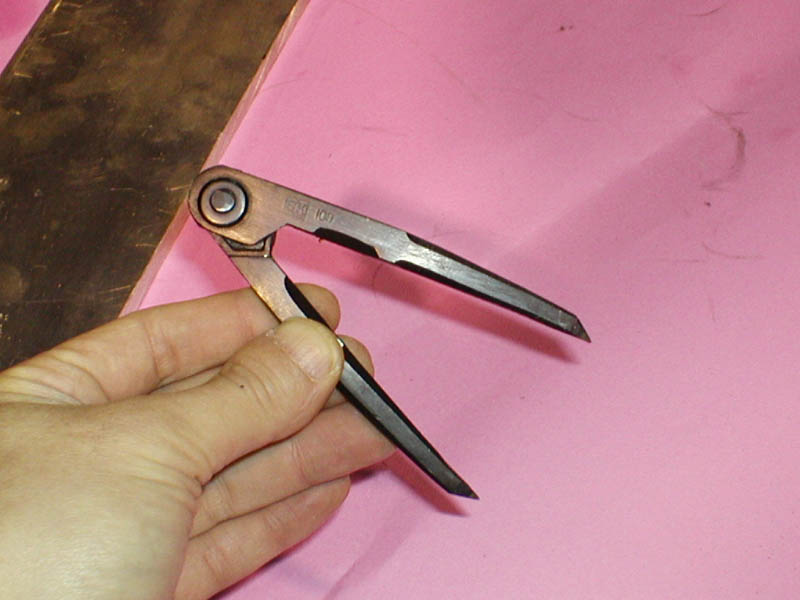
Fig. 3, Steel Compas
| A compas is used for drawing circles or an arc. Its points are also sharp
and hardened. |
|

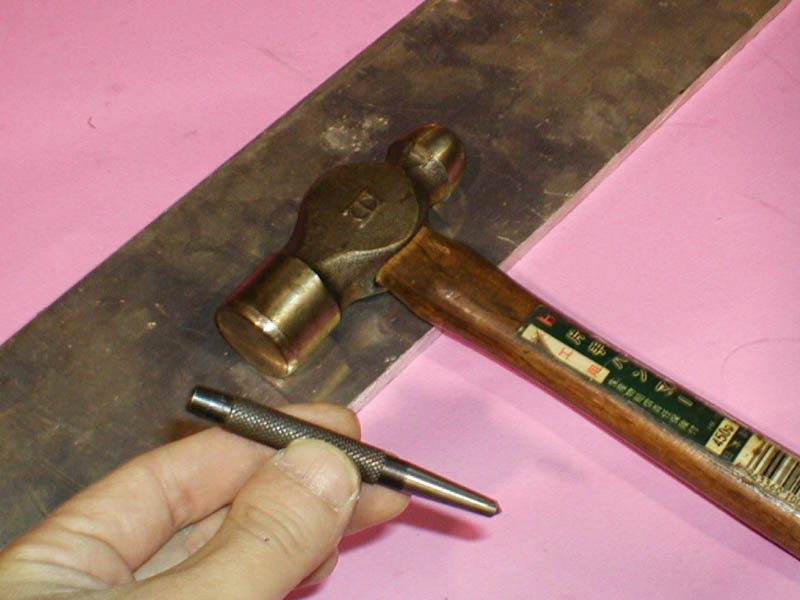
Fig. 4, Center Punch and Hammer
| A center punch is used for marking an "indent" before a hole
is bored with a drilling machine. The point is usually set to the point
of intersection between two marking line. |
|
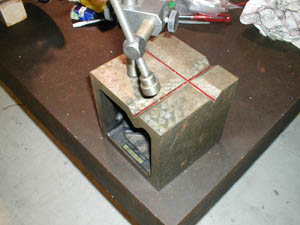
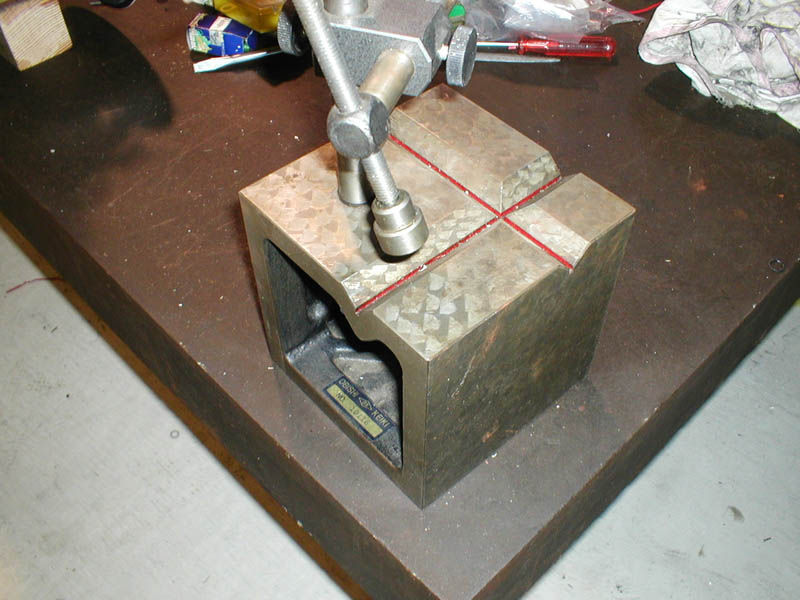
Fig. 5, Block and Flat Table
| Generally, the marking process is done on a flat table, called a marking-off
table. The block with a V-shaped slot, as shown in the above photograph
useful when marking our round or irregular objects. |
|
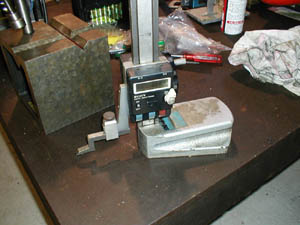
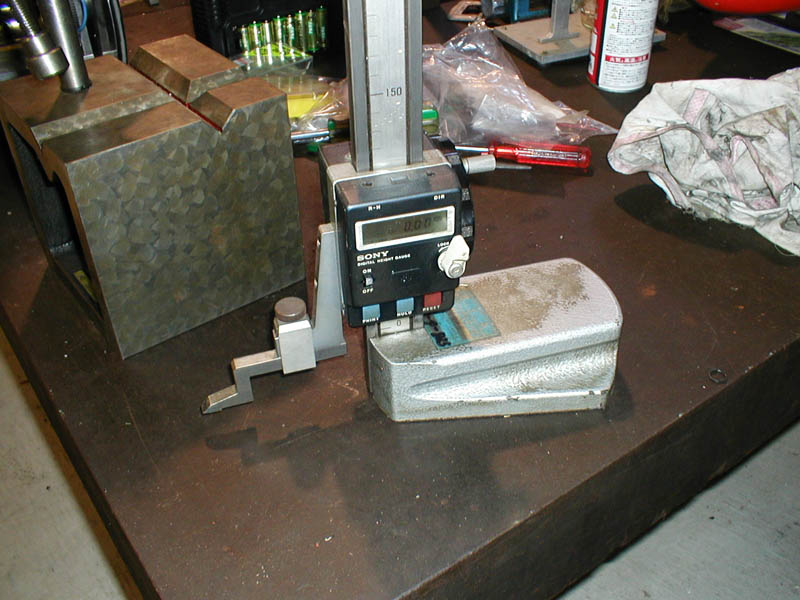
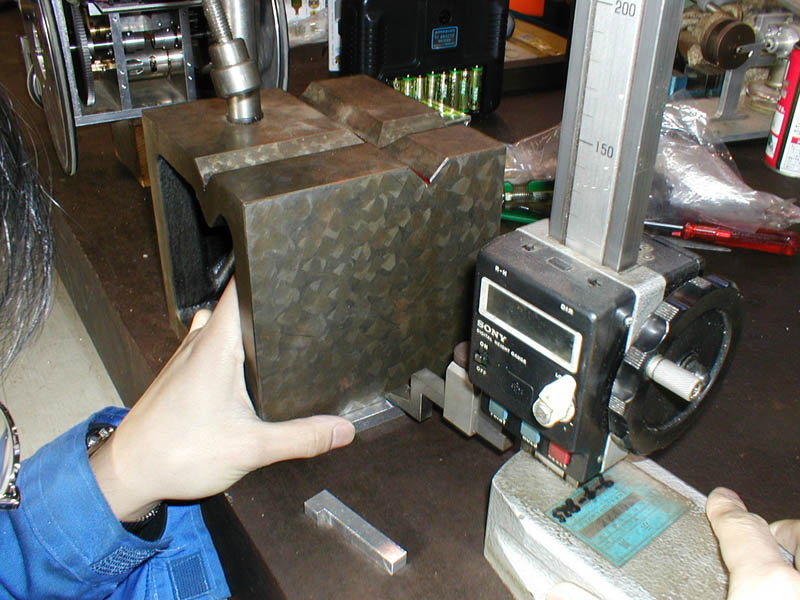
Fig. 6, Height Gauge
| The height gauge as shown in the above photograph can measure with the
accuracy of 1/100 mm. The point of the gauge is also a marking scribe,
so that it can be used for drawing accurate lines by sliding the gauge
on the flat table while at the same time scribing along the work piece. |
|
Marking-off and Drilling
The procedure of making holes in a simple mechanical process and is presented
as follows.

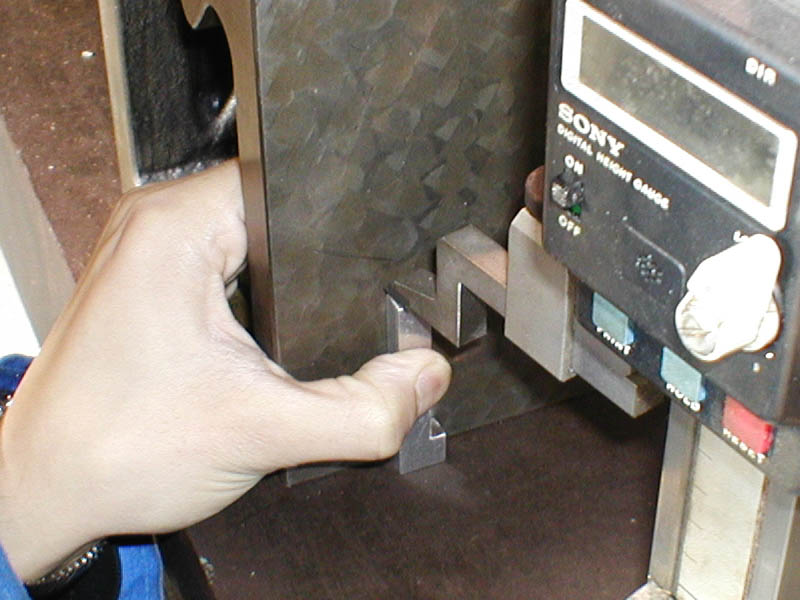
(1) Drawing of the Horizontal Center Lines
| Touch the material to the block, and slide the hight gauge. |
|

(2) Drawing of the Vertical Center Lines
| Rotate the material to 90 degrees. And draw the vertical lines. |
|

(3) Set the Point
| After marking the center point with the center punch, set the drill. |
|
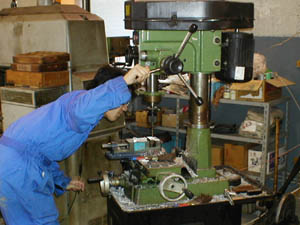
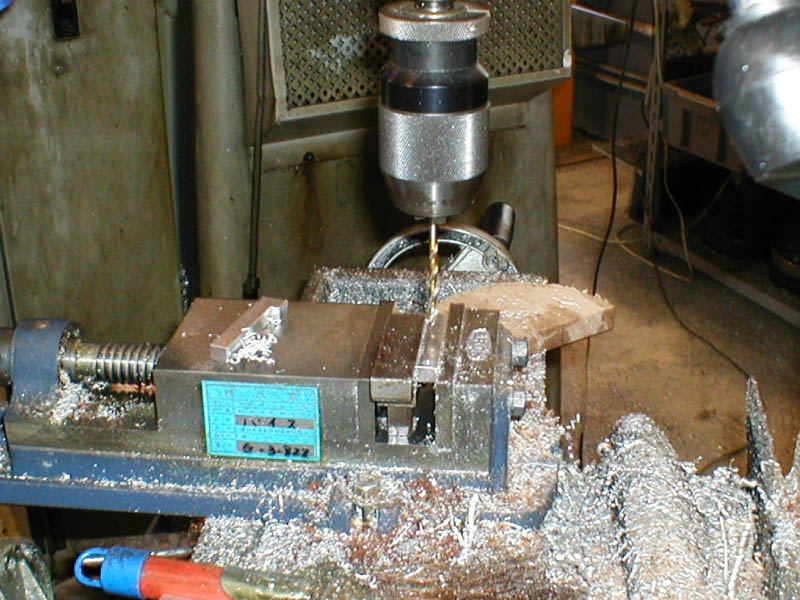
(4) Drilling
| Drill a hole with the drilling machine. |
|

(5) Drilling
| It may be necessary to withdraw the drill from the work piece to remove
any swarf that may otherwise clog the drill bit |
|
(6) Completion
| When drilling is completed it is usually necessary to remove any burrs as previously discussed. |
|
Fig. 7, Flow of Markings and Drillings
[ Metal Working TOP ][ Hirata HOME ][ Power and Energy Engineering Division ][ NMRI HOME ]
|